서버를 vscode 환경에서 다양한 플랫폼으로 즐기기(?)
언젠가는 했어야 하는 일인 서버에 code-server 설치하기.
- 목차
coder의 공식 페이지의 문서를 참고하여 설치하였다. 사용한 버전은 4.9.1이다.
설치(install.sh)
공식 페이지에 다양한 설치 방법이 나와있다. coder에서 제공하는 설치 스크립트를 사용하는 방법도 있고 패키지를 직접 다운로드받아 설치하는 방법, npm을 사용하는 방법 등이 있다. 나는 가장 간단한 방법인 자체 스크립트를 사용해보겠다.
공식 문서에서는 두 가지 커맨드를 제공해주는데, 아래와 같다.
$ curl -fsSL https://code-server.dev/install.sh | sh
$ curl -fsSL https://code-server.dev/install.sh | sh -s -- --dry-run
위 커맨드는 설치 스크립트를 다운로드받아 설치를 진행하는 커맨드이고, 아래 커맨드는 설치 과정 중에 어떤 커맨드가 실행되는지 보여주면서 설치를 진행하는 커맨드이다. 둘 중 아래 커맨드를 사용하여 설치를 진행하면 아래와 같은 메시지를 출력한다.
Ubuntu 22.04.1 LTS
Installing v4.9.1 of the amd64 deb package from GitHub.

+ mkdir -p ~/.cache/code-server
+ curl -#fL -o ~/.cache/code-server/code-server_4.9.1_amd64.deb.incomplete -C - https://github.com/coder/code-server/releases/download/v4.9.1/code-server_4.9.1_amd64.deb
+ mv ~/.cache/code-server/code-server_4.9.1_amd64.deb.incomplete ~/.cache/code-server/code-server_4.9.1_amd64.deb
+ sudo dpkg -i ~/.cache/code-server/code-server_4.9.1_amd64.deb

deb package has been installed.

To have systemd start code-server now and restart on boot:
  sudo systemctl enable --now code-server@$USER
Or, if you don't want/need a background service you can run:
  code-server

Deploy code-server for your team with Coder: https://github.com/coder/coder
위 출력값 중 +로 시작하는 줄이 설치 시 사용하는 커맨드인 것 같다. 그 내용을 보면 아래와 같다.
- 설치 파일을 다운로드받을 임시 폴더인
~/.cache/code-server를 생성한다. https://github.com/coder/code-server/releases/download/v4.9.1/code-server_4.9.1_amd64.deb를 다운로드받아~/.cache/code-server/code-server_4.9.1_amd64.deb.incomplete라는 이름으로 저장한다.~/.cache/code-server/code-server_4.9.1_amd64.deb.incomplete를~/.cache/code-server/code-server_4.9.1_amd64.deb로 이름을 바꾼다.~/.cache/code-server/code-server_4.9.1_amd64.deb를 dpkg를 사용하여 설치한다.
만약 스크립트를 사용하지 않을 것이라면 위 커맨드를 순서대로 입력하면 설치가 될 것이다.
세팅
공식 페이지에 나와있는 내용 중 필요한 것만 읽고 진행하였다. 목표는 나의 도메인을 통해 접근 가능한 code-server였기 때문에 nginx 관련된 부분 위주로 진행하였다. 여기서 알려주는 순서는 아래와 같다.
- 도메인을 구매하고 A record를 통해 서버 IP를 할당한다.
- nginx를 설치한다.
- nginx 설정 파일을 작성한다.
- 설정 파일을 활성화하고 SSL 인증서를 발급받는다.
DNS 세팅
나는 최근에 porkbun을 통해 이 도메인(orbithv.dev)을 구매하였다. 그 이전에는 freenom을 사용했는데, 그 때 DNS 설정을 통해 서브도메인을 설정하는 작업을 여러 번 해봐서 어렵지 않게 새로운 서브도메인을 추가할 수 있었다.
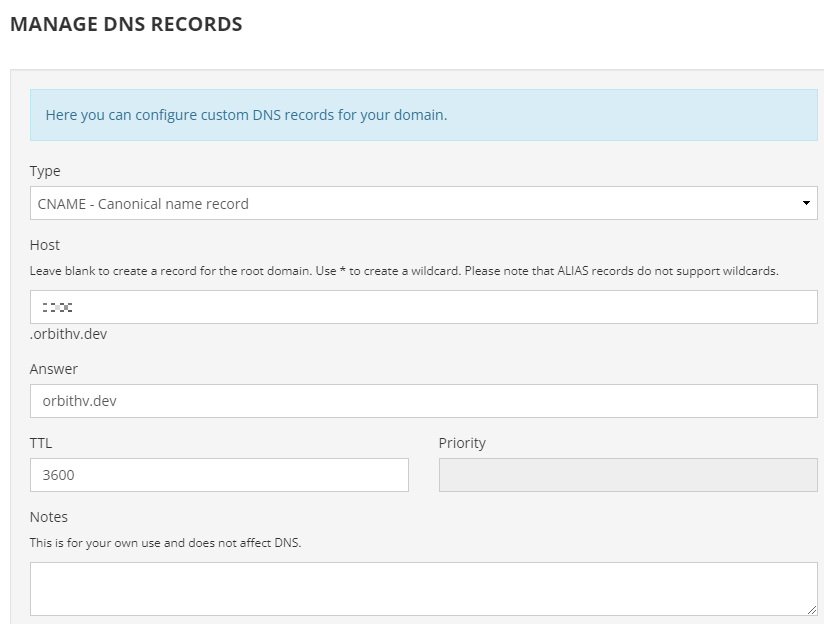
위 그림은 porkbun에서 DNS를 설정하는 화면이다. 여기에서 Type은 CNAME, Host에는 원하는 서브도메인, Answer에는 root 도메인을 넣어주었다. TTL 값은 해당 DNS record가 인터넷에 퍼지는 속도에 영향을 미친다고 하는데 정확히는 모르겠다.
이제 웹 브라우저에서 <subdomain>.orbithv.dev를 입력하면 서버로 request가 전송되도록 설정이 되었다.
SSL 인증서 발급
서버에서는 letsencrypt를 사용하고 있고, 이미 orbithv.dev 도메인에 발급된 인증서가 있기 때문에 이 인증서에 code-server를 위한 서브도메인을 추가해서 새로 발급받으면 될 것이다. 순서 상으로는 SSL이 마지막이지만 DNS 설정도 다 되어있어서 nginx 설정을 진행하기 전에 SSL 인증서를 먼저 발급받았다.
letsencrypt를 사용하여 이미 있는 인증서에 도메인을 추가하려면 아래의 커맨드를 사용하면 된다. 이 때 -d 옵션을 통해 이미 발급받은 인증서에 포함되어있는 도메인과 code-server로 사용할 도메인을 모두 입력해야한다.
# certbot certonly(또는 run) -d orbithv.dev -d ... -d <subdomain>.orbithv.dev
위 커맨드를 실행하면 먼저 아래와 같은 메시지가 나온다.
How would you like to authenticate with the ACME CA?
- - - - - - - - - - - - - - - - - - - - - - - - - - - - - - - - - - - - - - - -
1: Nginx Web Server plugin (nginx)
2: Spin up a temporary webserver (standalone)
3: Place files in webroot directory (webroot)
- - - - - - - - - - - - - - - - - - - - - - - - - - - - - - - - - - - - - - - -
Select the appropriate number [1-3] then [enter] (press 'c' to cancel):
nginx 환경에서 진행할 예정이므로 1을 입력한다.
- - - - - - - - - - - - - - - - - - - - - - - - - - - - - - - - - - - - - - - -
You have an existing certificate that contains a portion of the domains you
requested (ref: /etc/letsencrypt/renewal/***.conf)

It contains these names: ...

You requested these names for the new certificate: ....

Do you want to expand and replace this existing certificate with the new
certificate?
- - - - - - - - - - - - - - - - - - - - - - - - - - - - - - - - - - - - - - - -
(E)xpand/(C)ancel:
앞의 도메인들로 발급받은 인증서가 이미 존재하는 경우 해당 인증서를 알아서 선택하여 새로운 도메인을 이 인증서에 추가(expand)할 지 물어보는 메시지다. E를 입력하고 엔터를 누르면 도메인을 추가한 뒤 인증서를 새로 발급한다.
Renewing an existing certificate for orbithv.dev and 5 more domains

Successfully received certificate.
Certificate is saved at: /etc/letsencrypt/live/***/fullchain.pem
Key is saved at:         /etc/letsencrypt/live/***/privkey.pem
This certificate expires on 2023-04-25.
These files will be updated when the certificate renews.
Certbot has set up a scheduled task to automatically renew this certificate in the background.

- - - - - - - - - - - - - - - - - - - - - - - - - - - - - - - - - - - - - - - -
If you like Certbot, please consider supporting our work by:
 * Donating to ISRG / Let's Encrypt:   https://letsencrypt.org/donate
 * Donating to EFF:                    https://eff.org/donate-le
- - - - - - - - - - - - - - - - - - - - - - - - - - - - - - - - - - - - - - - -
인증서 발급이 완료되면 위와 같은 메시지가 출력되며 끝난다.
nginx 세팅
공식 페이지에 주어진 nginx 설정 파일은 아래와 같다.
server {
  listen 80;
  listen [::]:80;
  server_name <domain>;

  location / {
    proxy_pass http://localhost:8080/;
    proxy_set_header Host $host;
    proxy_set_header Upgrade $http_upgrade;
    proxy_set_header Connection upgrade;
    proxy_set_header Accept-Encoding gzip;
  }
}
여기서 <domain>은 자신의 도메인으로 바꾼다. 하지만 .dev 도메인은 크롬 브라우저에서 https만 사용할 수 있다는 제약 조건이 있었기 때문에 위 nginx 설정 파일을 활용하여 현 상황에 맞게 code-server용 설정 파일을 아래와 같이 고친다.
server {
  listen 443;
  listen [::]:443;
  server_name <subdomain>.orbithv.dev;

  location / {
    proxy_pass http://localhost:<port>/;
    proxy_set_header Host $host;
    proxy_set_header Upgrade $http_upgrade;
    proxy_set_header Connection upgrade;
    proxy_set_header Accept-Encoding gzip;
  }
}

server {
  if ($host = <subdomain>.orbithv.dev) {
      return 301 https://$host$request_uri;
  } # managed by Certbot

  listen 80;
  listen [::]:80;

  server_name <subdomain>.orbithv.dev;
  return 404; # managed by Certbot
}
<port>에는 원하는 포트 번호를 입력하면 된다. code-server는 디폴트 값으로 8080을 사용하기 때문에 이 값을 사용하면 되고, 혹여나 다른 프로그램과 포트 번호가 겹칠 우려가 있다고 생각하면 다른 값을 사용하고 아래의 실행 과정에서 포트 번호를 그에 맞게 고쳐주면 된다.
그 다음에 ln 커맨드를 사용하여 /etc/nginx/sites-enabled/에 생성한 파일의 symbolic link를 생성하면 된다. 그리고나서 nginx -t를 통해 문제가 없는지 확인하고 systemctl restart nginx 커맨드를 사용하여 nginx를 재시작하면 <subdomain>.orbithv.dev로 접속할 수 있게 된다.
실행
install.sh(coder 자체 스크립트)를 사용하여 설치를 진행했다면 아래와 같이 code-server를 실행하는 커맨드를 알려준다.
sudo systemctl enable --now code-server@$USER
여기서 USER는 자신의 유저네임으로 바꾼다. 이 커맨드를 사용하면 지금 즉시 code-server가 실행되며 인스턴스를 껐다 키면 자동으로 실행되게 한다. 그리고 처음 실행하는 것이라면 ~/.config/code-server/config.yaml 파일이 생성된다. 이 파일을 열어보면 아래와 같은 형태로 되어있다.
bind-addr: 127.0.0.1:8080
auth: password
password: <16진수 난수>
cert: false
bind-addr는 code-server가 local에서 bind할 주소와 포트를 의미하는 것 같다. 주소는 localhost(127.0.0.1)로 남겨놓고 포트는 원하는 값으로 하면 되는 것으로 보인다. nginx에서 proxy를 진행하므로 nginx 설정 파일에서 정한 포트 번호(위의 <port>)를 여기에 넣어주면 된다.
auth는 사용자 인증 방식을 의미한다. none이면 인증을 하지 않고, password는 비밀번호를 통해 인증하는 방식이다. 이 외에도 oauth나 cloudfare와 같은 외부 인증 방식을 사용하는 방법도 있는 것 같다.
password에는 auth가 password일 때 사용할 비밀번호를 의미한다. 원하는 값으로 설정하면 된다.
공식 페이지에서 인증 과정을 추가할 것을 권장하여 나는 비밀번호를 사용할 것이다. 그래서 auth는 그대로 두고 password 칸은 내가 원하는 비밀번호를 설정했다.
설정이 끝나면 sudo systemctl restart code-server@USER 커맨드를 사용하여 code-server를 다시 실행시켜준다. 그 뒤에 다시 접속해보면 아래와 같이 정상적으로 페이지가 작동함을 확인할 수 있다.
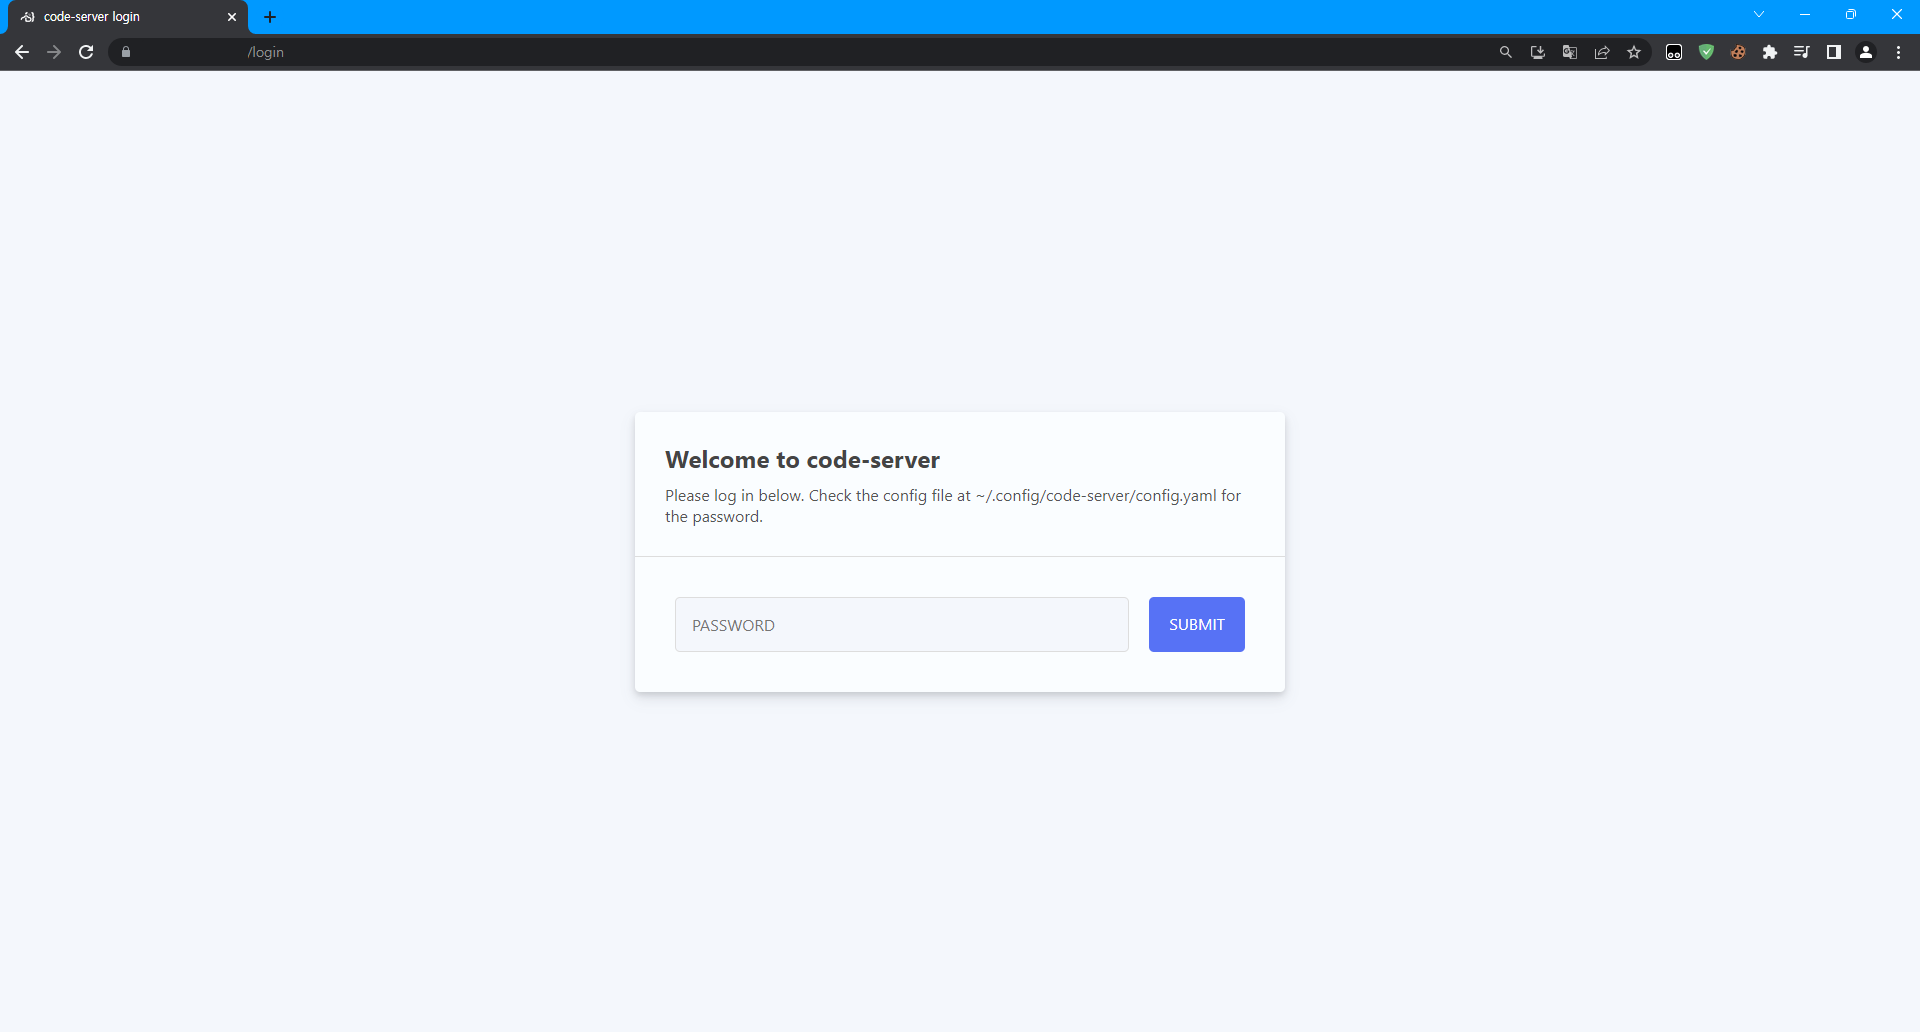
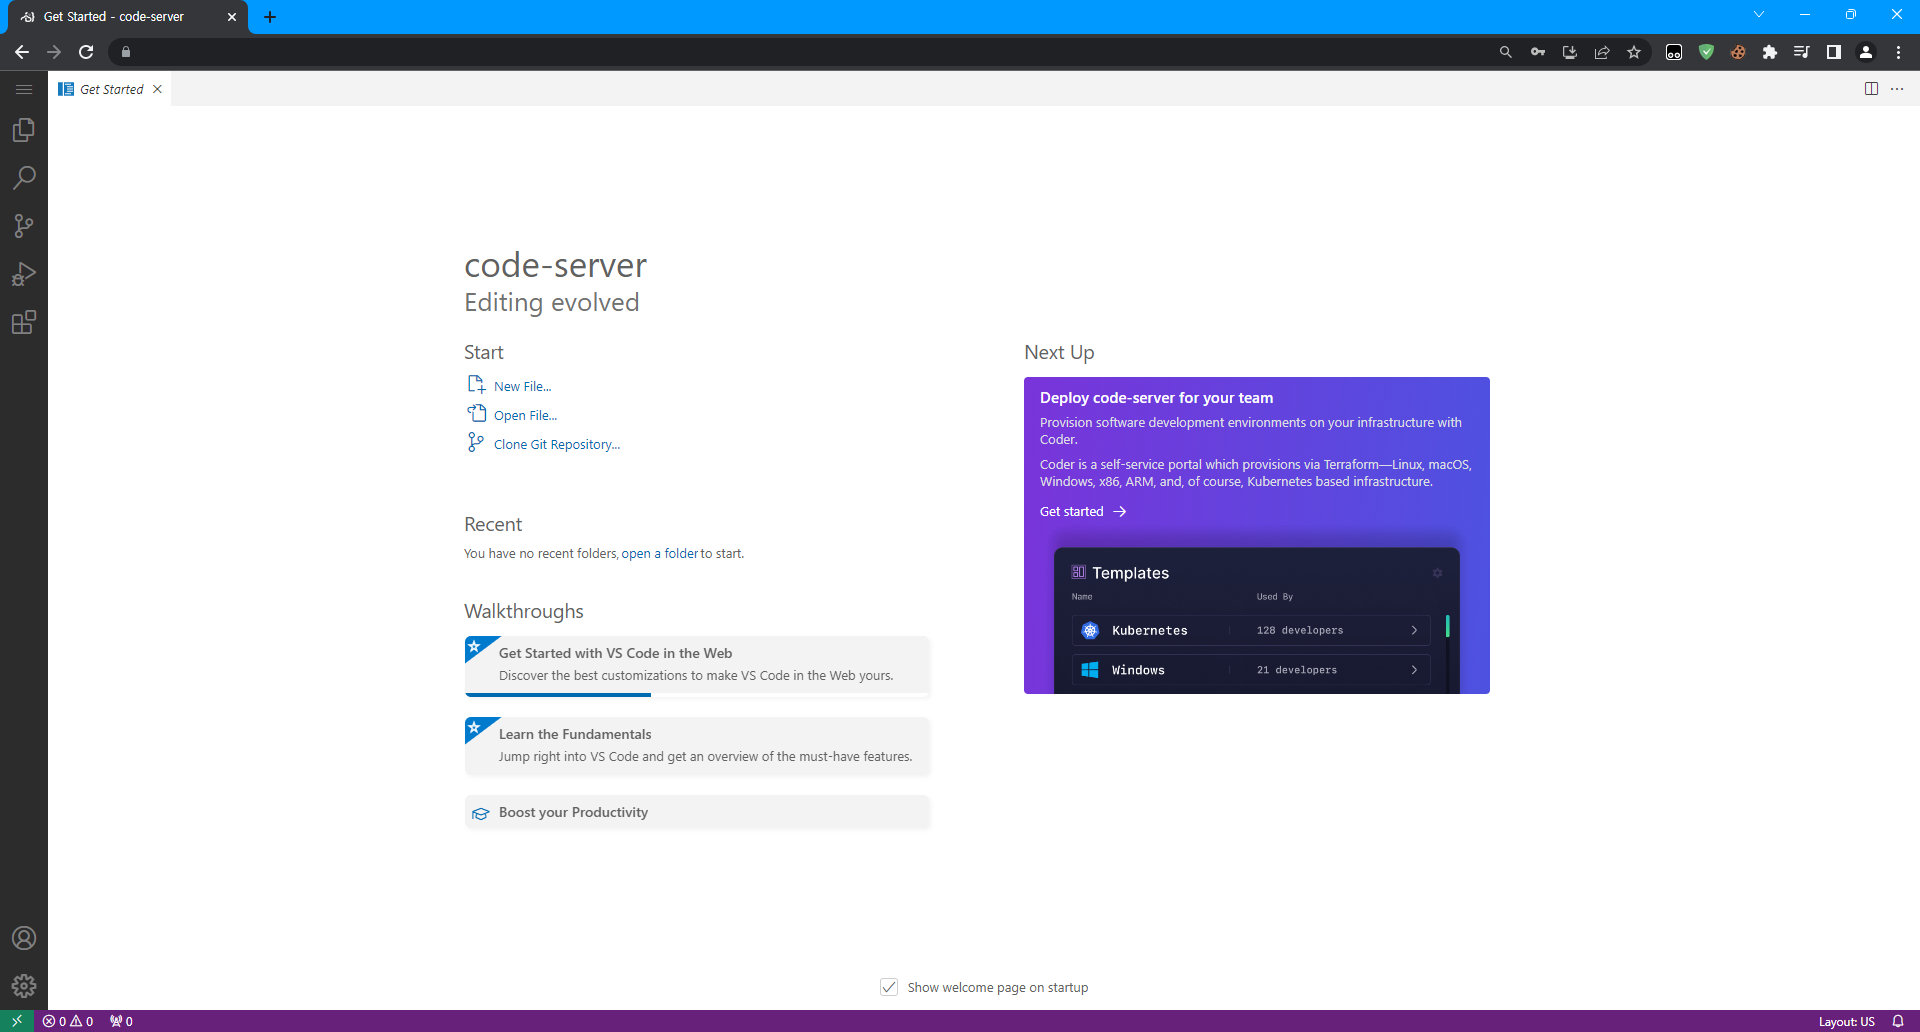
이제 인터넷을 사용할 수 있는 환경이라면 어느 디바이스에서든 vscode 환경으로 서버에 접속할 수 있게 되었다. 편-안